
One Room Challenge – Spring 2021, Week 7 - Phase 5 Installation
Whew! It's week 7 and we are getting down to the wire! The past few weeks have been amazing seeing everything come together and while I’m excited to see sleep in my bedroom again, I’m equally as excited to share the final product with you. In last week's blog we talked about the ordering process and highlighted some of the key pieces we’re adding to our spaces to make them feel warm and luxurious.
This week we will cover the final phase of our design process which is the installation of all the furniture, paint and miscellaneous fixtures. We’ve been busy with this phase and if you follow me on social you know that we’ve made this a family affair. Even my youngest, was helping us out and getting the job done.
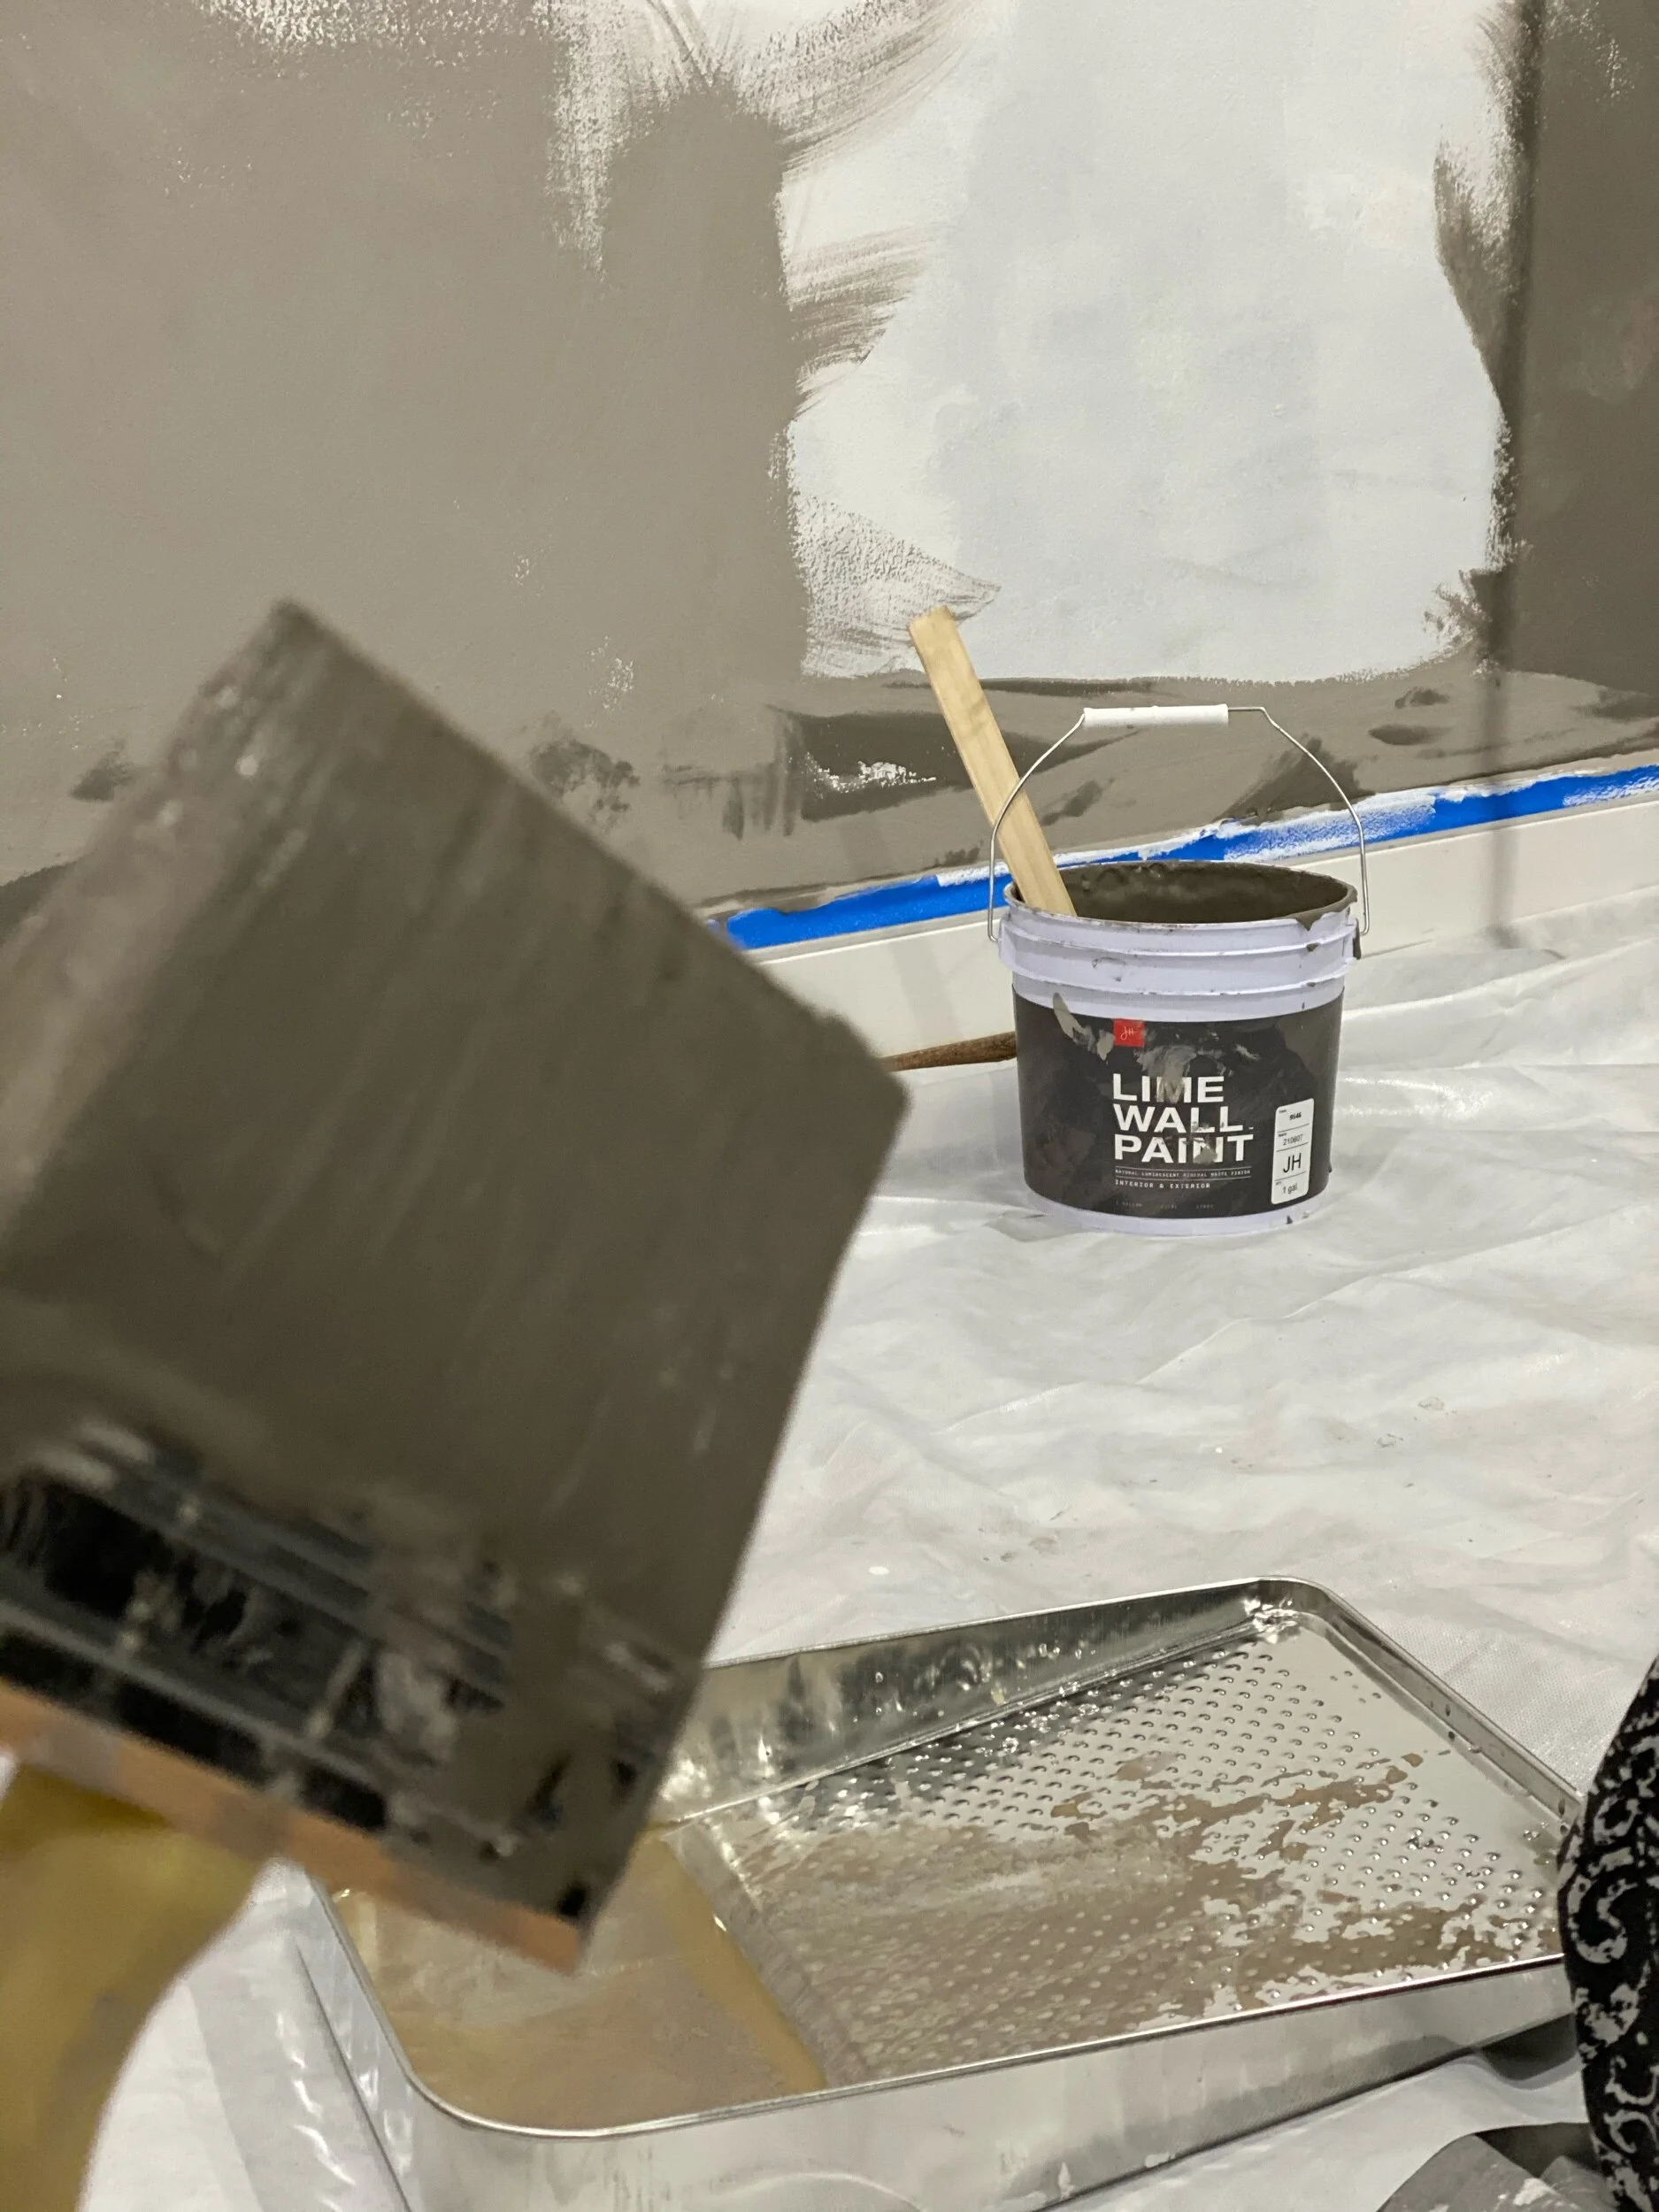
Speaking of paint, take a look at our JH Wall Paints Textured Lime Wash. The lime wash paint has a Venetian plaster finish to it. It turned out beautifully and was easy to apply. I first applied one coat of the textured primer, then the paint which I decided to dilute with water by 50% percent… a great option. After receiving a few paint samples in the mail, I finally decided to use the color 9546 on our bedroom walls and it resulted in this warm gray/taupe very elegant color and finish. The paint really adds to the mood of an at home oasis and I could not be more happy with the outcome.
My en-suite bathroom is coming together so nicely! We started to install the hardware for the tub and sink and when I tell you I am in love!! It's amazing how a simple hardware update can completely change the feel and look of a space. We chose Kohler's Purist shower head and a beautiful coordinating faucet because of its sleek and contemporary profile and because of Kohler’s commitment to quality and craftsmanship.
We also installed what I believe to be an absolute favorite pieces in the renovation, the shower enclosure! I decided on the Dreamline Unidoor Plus shower enclosure. I know, I know… how is something so utilitarian so exciting!?! Well at 5 feet long it has a very large presence in the space… but what I love the most is how contemporary, sleek and timeless it is. The glass is stain resistant and the black hardware adds a beautiful contrast to the space. It’s classic and really pulls out the black veining in our tile. It’s a simply stunning shower enclosure that’s beautiful, easy to maintain and will stand the test of time.
Design Tip: So we faced a few hiccups during the installation process, One that comes to mind is our vanity mirror. Remember back when I mentioned I originally wanted a double sink vanity but due to space restrictions and adding a tub in the space, we had to go with a 36”. Well we’ve discovered that the 35” vanity mirror did not fit! I didn’t account for an area for a light switch. So in addition to having a detailed floor plan you should have an elevation plan or at the very least account for the location of switches, outlets, etc. We were quaintly able to size down and now have the correct mirror size.
Lighting Tip: For both the bedroom and bathroom we have recessed lighting, however I used two different lighting temperatures per room. In the bedroom I selected the 3,000 Kelvin temperature in order to get that soft white/ yellow glow. I chose this so that the room could feel moody and warm. I want the vibe to be relaxed similar to spa room lighting so that I can unwind properly from my day. In the bathroom I did the complete opposite. I went with 5,000 … to really brighten up the room. When I’m in the bathroom I prefer daylight lighting for makeup application, etc.
Ok, Ok. Next week is the week we’ve all been waiting for. The final reveal! I can’t wait to share with you! Be ready with a glass of champagne. Continue to follow us on Facebook and Instagram and our #grayspaceORC to check out our progress. Don’t forget to look to see what the other designers are up to with #oneroomchallenge hashtag or click the links below to follow along on their blogs or the http://www.oneroomchallenge.com/orc-blog

Let’s make our homes beautiful together!
~ Rasheeda
Ariene C. Bethea | At Home With Ashley | Banyan Bridges | Bari J. Ackerman | Brit Arnesen
Brownstone Boys| Cass Makes Home | Dominique Gebru || Haneen's Haven
Home Ec. | Nile Johnson Design | Pennies for a fortune | Prepford Wife | Rachel Moriarty Interiors
Sachi Lord | Susan Hill Interior Design | This Is Simplicite | Tiffany DeLangie | Victoria Lee Jones